Official Guide How To Light Your Shite - Lighting Guide For SFM

MaXenzie

Sexually attracted to robots
Media Developer
GTA RP Playtester
Joined
Apr 26, 2016
Messages
17,276
Nebulae
24,626


Lighting is something that can completely make or break a pose. I'm not gonna beat around the bush, let's just straight into how not to fuck it up.

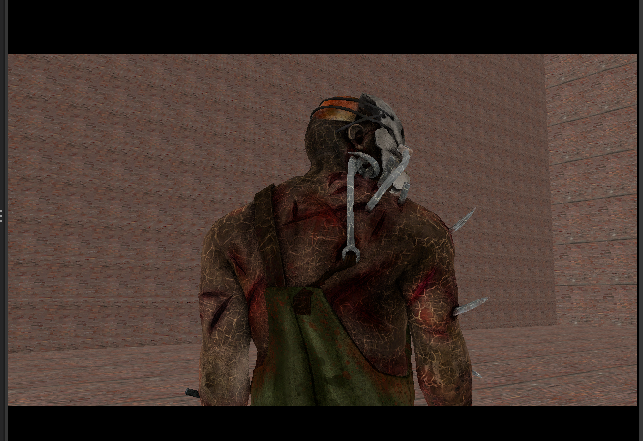
Do your basic SFM things, get a session, pose a character, like so:

fd1229500a84b2ea38d62563f95d5311.png


Once posed, spawn a light (It is done in the same way you'd spawn a model, but click light instead) and enable lighting if it was disabled by right clicking the viewport.

58dcfd19ee474331bb3743c080ca3b6c.png


Now, drag the light into the viewport, and now you can control it via the camera. Position the light above and to the side of the target, use Camera 1's FOV lines to help you.

8ed22f8f9435033f4842422e8f96d1d6.png

ca6e2d1de1d05c5653564894ec184a45.png


Before doing any other lights, let's adjust the settings of the light.

0bc9577510c062b76c6617401bb79849.png


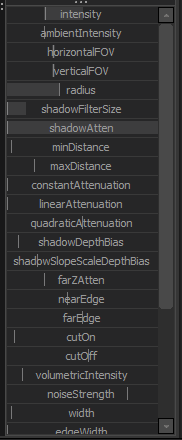
These are the settings I generally prefer.

Intensity - Self explanatory. How bright the light is.

Radius - Only shows up in the render. It decides how smooth the light travels across the body, and gets rid of sharp edges.

Shadow Filter Size - The point in which light becomes shadow.

Shadow Attenuation - How dark those shadows are.

To see how it looks in the render, go onto the clip editor.
668cc17b8b845982267569de5b900763.png
That's the orange one.

Now right click the viewport and click Render settings, turn up Depth of field to the max, this sorts out the lighting. The image should now automatically update itself to a temporary render while in the clip editor.
0dac21293663d2797073b10da7a20536.png


Now repeat the rim lighting on the other side of the subject's body by copying the light and pasting it, and then move it.

784147f56587245b12c4b76b18592af7.png


Note that pure white lights very rarely happen, ever. So change your lighting slightly to make it look more natural.

3fe5a63de2dfeb55e1f89ace312c84e1.png


Now, on the right side of your viewport, at the bottom, it'll say either "Work Camera" or "Camera 1." Make sure it's on Camera 1 and click the arrow. Click create animation set.

79eb8f761b7688902af9a563dd7c66ce.gif


Once you've created an animation set, alter the settings to something like this:

92dc904670030becb35e636fbc35ce61.png


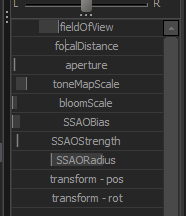
Turn down the SSAORadius so it's not as heavy.

Remove SSAOBias so it's Un-Biased.

Remove Bloomscale because it doesn't even work on poster renders.

Now, add a weaker light to the front and side of the target, this is called the key light, because it fills up the key part.

a284cde21717e3d5fe8272f17cc01045.png


Add another even weaker light to fill in the dark bits. This is called a fill light.

27e560f8b57254d56b17d93f1b4c5c81.png


Now for some buggy as hell particle editing:

a833a62347b0a97f6ab303fcd12f3b2b.png


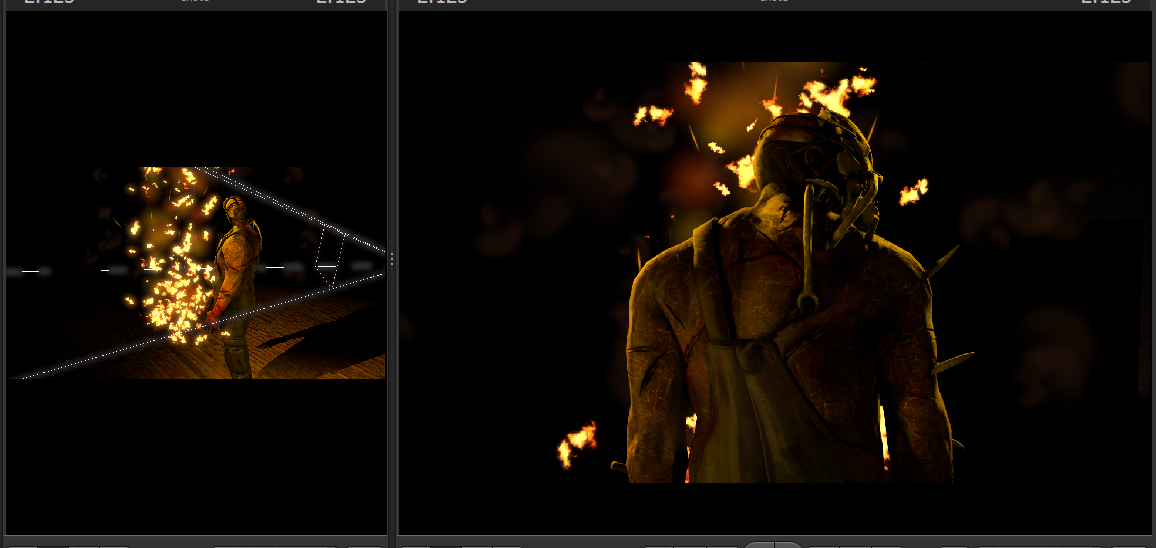
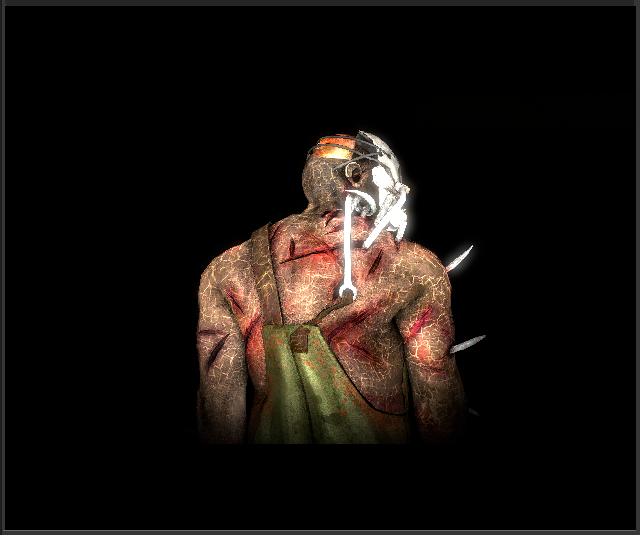
And the final image comes out as:
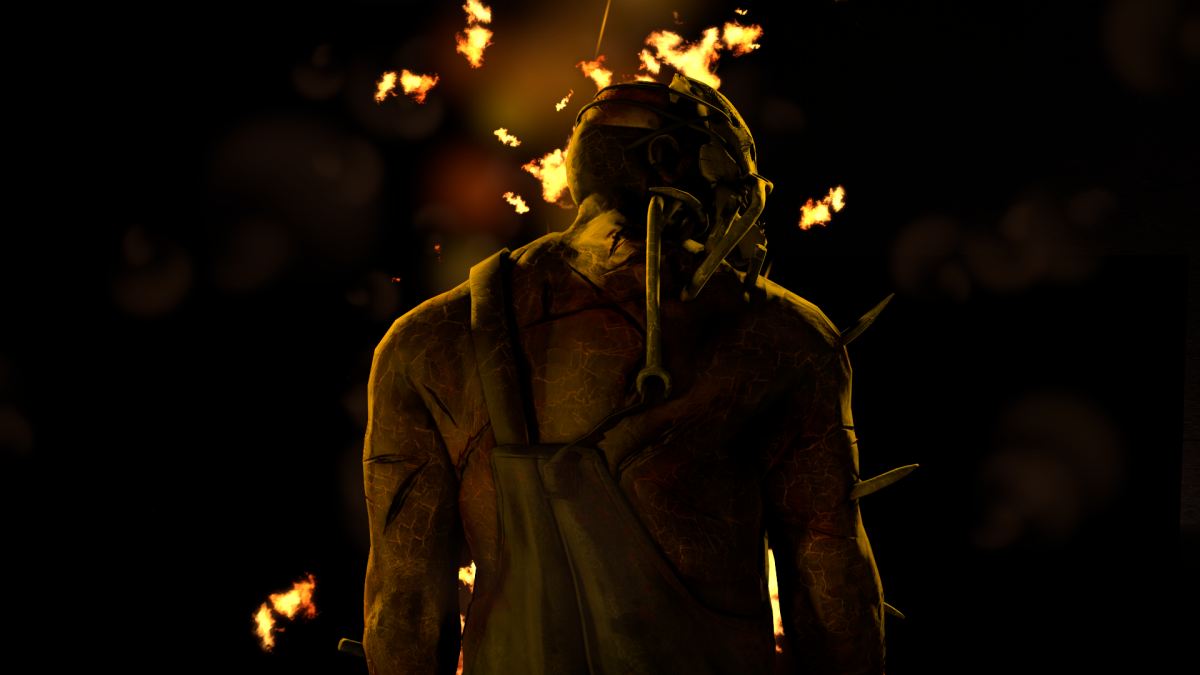
656754f2f33b43fd2bb8d0bfceecbc99.png


Eh. Looks alright.

Please note that when I make posters and poses, I make them with a specific style. You are encouraged to make your own style. Don't copy my settings page for page, but don't completely disregard them and maximise your shadow attenuation to get absolutely no shadows.

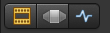
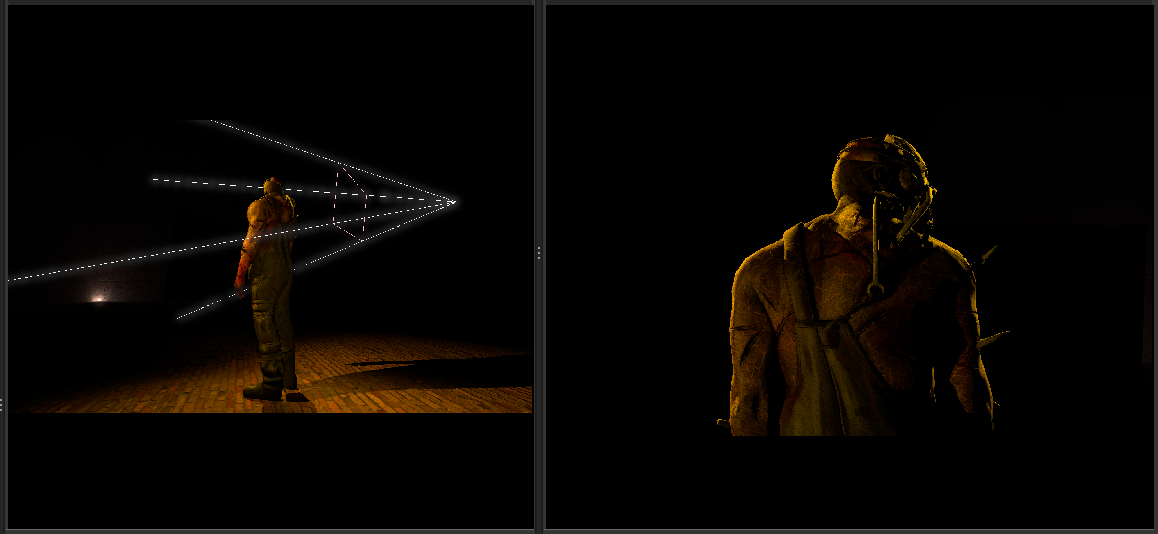
Example of bad lighting:

7cf83ad9767bc6d54e464cbcc4a946d9.png


Look for as many mistakes and fails in this as you can. You'd spot a lot.

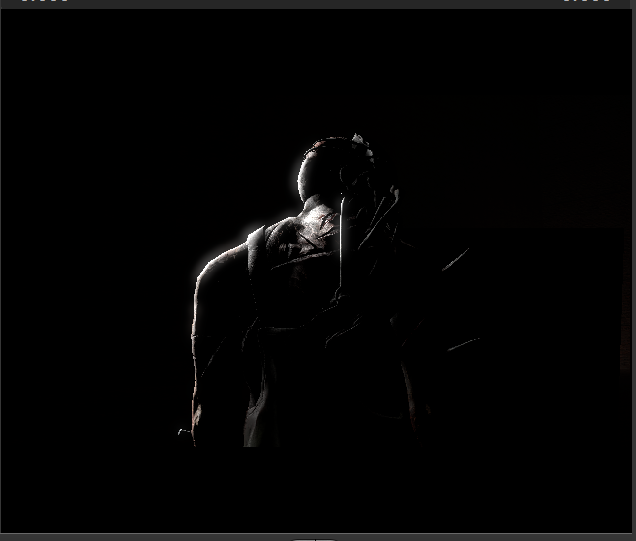
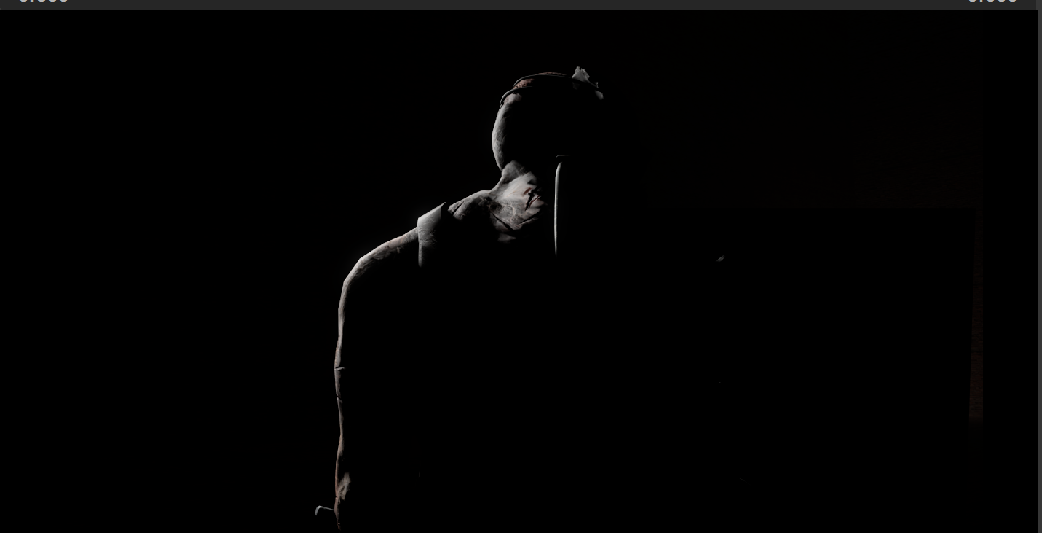
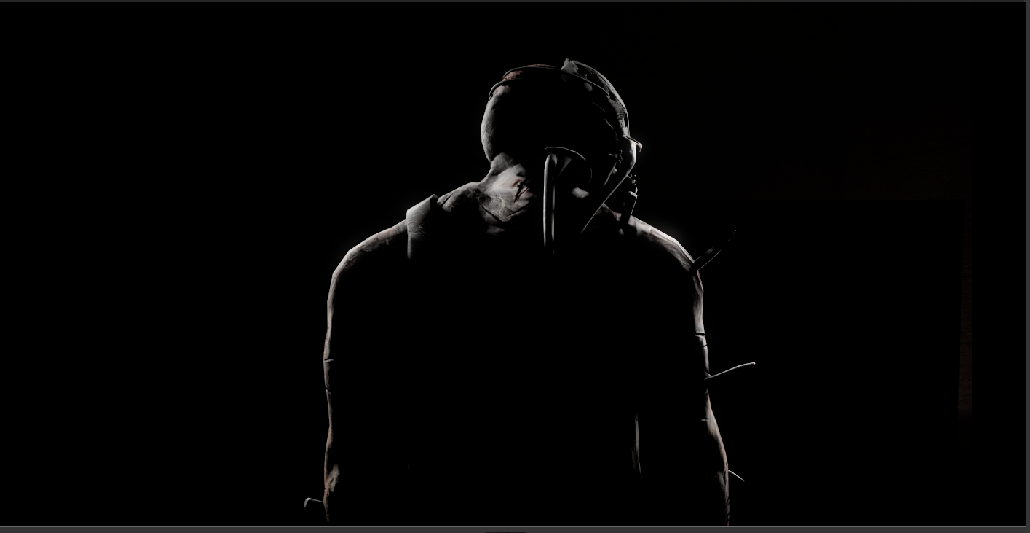
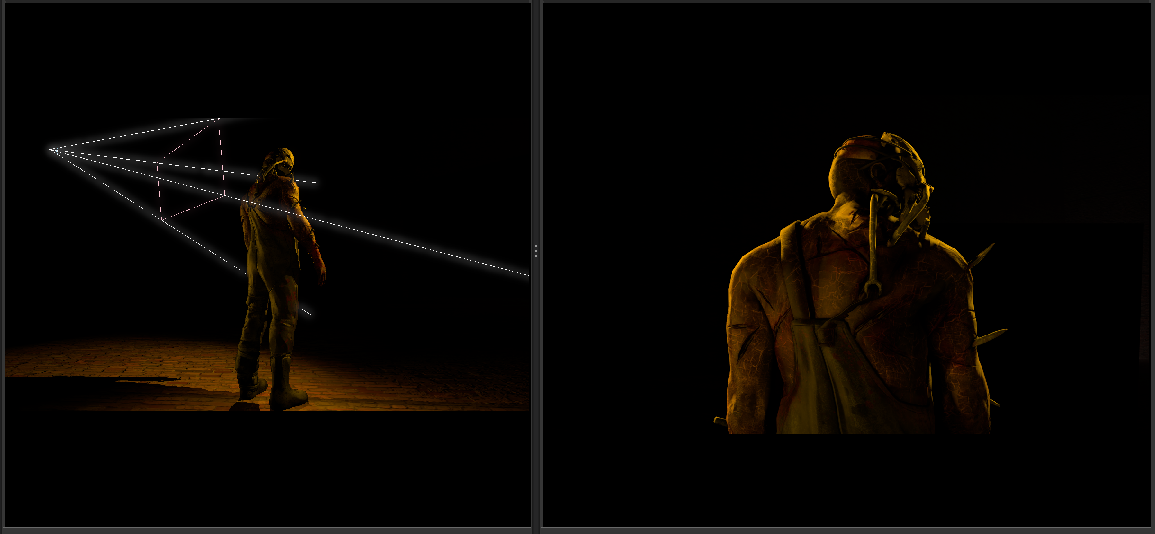
Example of good lighting:

92111c9dfda54470e7355cb1e1a940e6.png


This piece was almost entirely rim lighting, which is good for making a piece dramatic.

If all else fails:


I learnt a lot from this video. You'll probably learn something too.

The most important thing about making art is enjoying the development process, and making progress.

At the end of the day, have fun!

 
Joined
Apr 26, 2016
Messages
184
Nebulae
990
I VERY RECENTLY MADE A POSE USING A BIT OF THE RIM LIGHTING TECHNIQUE AND, EVEN THOUGH YOU POSTED THIS AFTER I EXPORTED IT, I MUST SAY THAT IT LOOKS VERY GOOD, THE RIM LIGHT. I'M ONLY JUST FIGURING OUT LIGHTING TECHNIQUES, SO THIS THREAD HELPED A LOT.

THANK YOU, MIGHTY MAXENZIE! THIS GUIDE IS MAGNIFICENT.
 
Reactions: List

steambored

Make no mistake, this is a one-way trip.
Joined
Apr 26, 2016
Messages
1,207
Nebulae
2,013
Lighting can be tricky, but, lighting differs depending on the situation, I found lighting harder when the object is outside, forest, city, etc, and it is for 90% of the time, which, it's better that you experiment more with lighting in outside scenes(in this case, only scenebuilt outside maps OR maps with lighting disabled, resulting in pitch black.) You should place a light that lights up the whole scene, this is where FarZatten comes into place, use it and pull it to the right, couple it with max horizontal and vertical area, place it from where the sun/moon would come from, or where the main light is coming from. Then place a light on the unlit side(if its day, but you should do it regardless) place the same strenght light, if anything, you couldgo with a slightly weaker light, for dark scenes, use a dim light. Rimlighting, it's good when theres light coming from something, for example a fire, if theres a fire to his side, place it from where its coming from, the side. Or if the sun is coming from his side. For other things, do the same principle, light from the main source, etc.


And, please, don't bother with maps that have predone lighting, it's horrible.

Good posin'
[doublepost=1466371719][/doublepost]edit: DO use shadowdepthbias, turn it to the left fully. SSAO bias and things are Ambient Occlusion related, they don't do much impact.

and press F2 for remdering the scene instead of clicking the button.
 
Reactions: List

MaXenzie

Sexually attracted to robots
Media Developer
GTA RP Playtester
Joined
Apr 26, 2016
Messages
17,276
Nebulae
24,626
Lighting can be tricky, but, lighting differs depending on the situation, I found lighting harder when the object is outside, forest, city, etc, and it is for 90% of the time, which, it's better that you experiment more with lighting in outside scenes(in this case, only scenebuilt outside maps OR maps with lighting disabled, resulting in pitch black.) You should place a light that lights up the whole scene, this is where FarZatten comes into place, use it and pull it to the right, couple it with max horizontal and vertical area, place it from where the sun/moon would come from, or where the main light is coming from. Then place a light on the unlit side(if its day, but you should do it regardless) place the same strenght light, if anything, you couldgo with a slightly weaker light, for dark scenes, use a dim light. Rimlighting, it's good when theres light coming from something, for example a fire, if theres a fire to his side, place it from where its coming from, the side. Or if the sun is coming from his side. For other things, do the same principle, light from the main source, etc.


And, please, don't bother with maps that have predone lighting, it's horrible.

Good posin'
[doublepost=1466371719][/doublepost]edit: DO use shadowdepthbias, turn it to the left fully. SSAO bias and things are Ambient Occlusion related, they don't do much impact.

and press F2 for remdering the scene instead of clicking the button.

Messing with shadowdepthbias can make your image look plastic if you turn it and the one underneath it fully to the left (Not on SFM, can't remember it)
 

steambored

Make no mistake, this is a one-way trip.
Joined
Apr 26, 2016
Messages
1,207
Nebulae
2,013
Messing with shadowdepthbias can make your image look plastic if you turn it and the one underneath it fully to the left (Not on SFM, can't remember it)
look at my recent poses such as
31e8bceb29.jpg

718f6905c5.png
b8703542b8.png

lighting in these looked crap, UNTIL you press F2 and render it.
 
Reactions: List

MaXenzie

Sexually attracted to robots
Media Developer
GTA RP Playtester
Joined
Apr 26, 2016
Messages
17,276
Nebulae
24,626
look at my recent poses such as
31e8bceb29.jpg

718f6905c5.png
b8703542b8.png

lighting in these looked crap, UNTIL you press F2 and render it.

I did not know that pressing F2 did a render.

I always just went on Shot viewer and it'd render it automatically.
 

steambored

Make no mistake, this is a one-way trip.
Joined
Apr 26, 2016
Messages
1,207
Nebulae
2,013
heres another comparison
d2f5b46bef.jpg

and
ca8f66f24e.png
 

steambored

Make no mistake, this is a one-way trip.
Joined
Apr 26, 2016
Messages
1,207
Nebulae
2,013
I did not know that pressing F2 did a render.

I always just went on Shot viewer and it'd render it automatically.
you should always render with focal distance set on the main object, aperture on and DoF set to 1024
 

MaXenzie

Sexually attracted to robots
Media Developer
GTA RP Playtester
Joined
Apr 26, 2016
Messages
17,276
Nebulae
24,626
you should always render with focal distance set on the main object, aperture on and DoF set to 1024

:ok:

And it's smart to have 2 viewports, one on the work camera/light camera and one on Camera 1, so you can constantly see what the final result looks like.
 

steambored

Make no mistake, this is a one-way trip.
Joined
Apr 26, 2016
Messages
1,207
Nebulae
2,013
That looks more like color correction than lighting.
no, i just gave you 2 edited images lol, but still, look at the light in pic 2 and pic 1, you see, the shadows in thesecond one look much better as his back doesnt seem like the light is literally shining on it, nothing there was moved except depth bias
[doublepost=1466374823][/doublepost]
:ok:

And it's smart to have 2 viewports, one on the work camera/light camera and one on Camera 1, so you can constantly see what the final result looks like.
thats my setup lol, it always has been
6aea88a6b9.jpg
 

MaXenzie

Sexually attracted to robots
Media Developer
GTA RP Playtester
Joined
Apr 26, 2016
Messages
17,276
Nebulae
24,626
no, i just gave you 2 edited images lol, but still, look at the light in pic 2 and pic 1, you see, the shadows in thesecond one look much better as his back doesnt seem like the light is literally shining on it, nothing there was moved except depth bias

We have different styles my friend. I personally don't touch it because I've had a bad history with using it.

thats my setup lol, it always has been
6aea88a6b9.jpg

Are we both competing or just giving tips to other SFM-Goers?
 

steambored

Make no mistake, this is a one-way trip.
Joined
Apr 26, 2016
Messages
1,207
Nebulae
2,013
We have different styles my friend. I personally don't touch it because I've had a bad history with using it.


Are we both competing or just giving tips to other SFM-Goers?
basically in a nutshell, seek what u think is best and dont be afraid to experiment with ur settings
 
Reactions: List