lemon
Sells cheap beer
- Joined
- Apr 26, 2016
- Messages
- 1,426
- Nebulae
- 3,435
by @Erkor
Ladies and gents, here we are, finally with a guide to how use SFM, the masterrace of posing
Starting off
As for the start, SFM is a tool that isn't for older PCs. For it to run smoothly, you'll need at least 8 GB ram, a good processor and an okay graphics card. Still, you can run it with 4 GB of ram, you just might experience crashes from time to time, as well as have problem with resolutions higher than 2k.
If you're still here, that means your PC can handle it all, and so, you're ready to begin.
Concept of your poster is the most important thing, you can't do nothing good without it. To get one, get a good inspiration (such as from books, movies, games) or just be lazy and wait for an idea to come to you by itself. Forcing yourself to think of an idea will end out with getting a bad one, so don't.
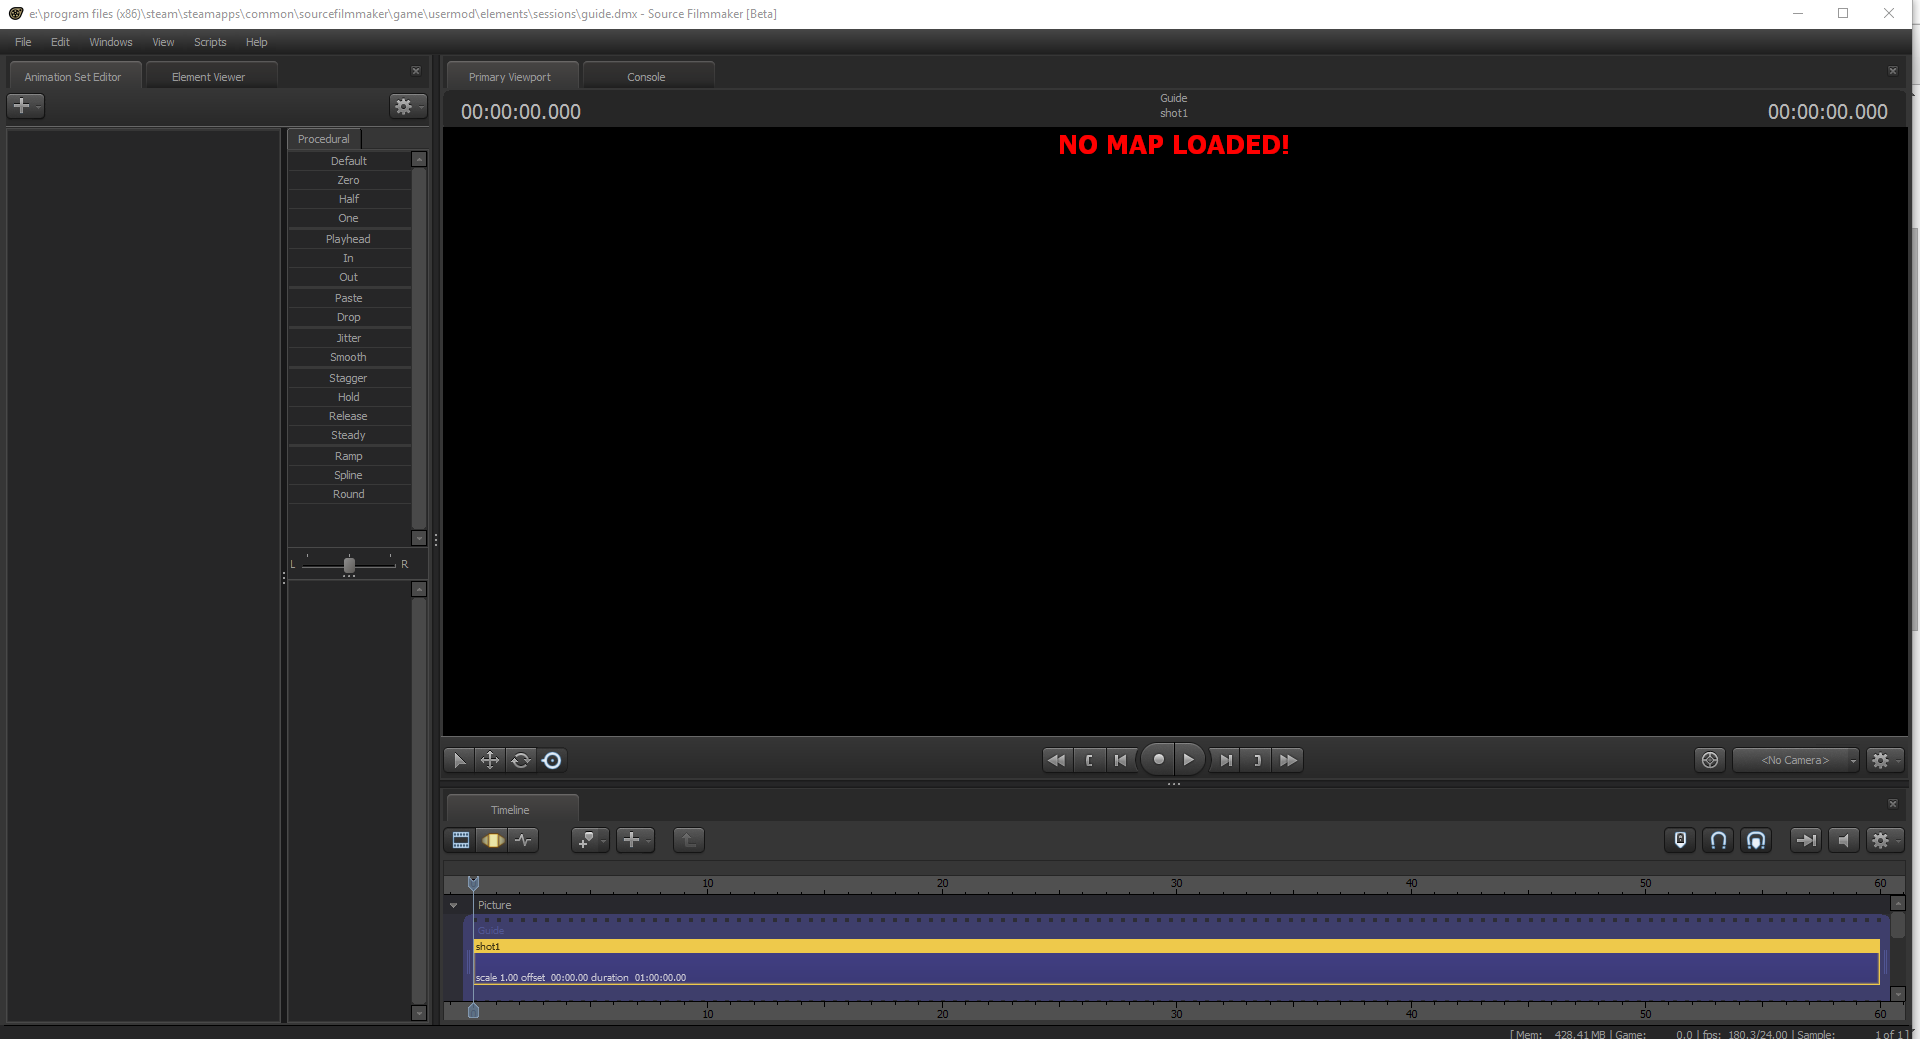
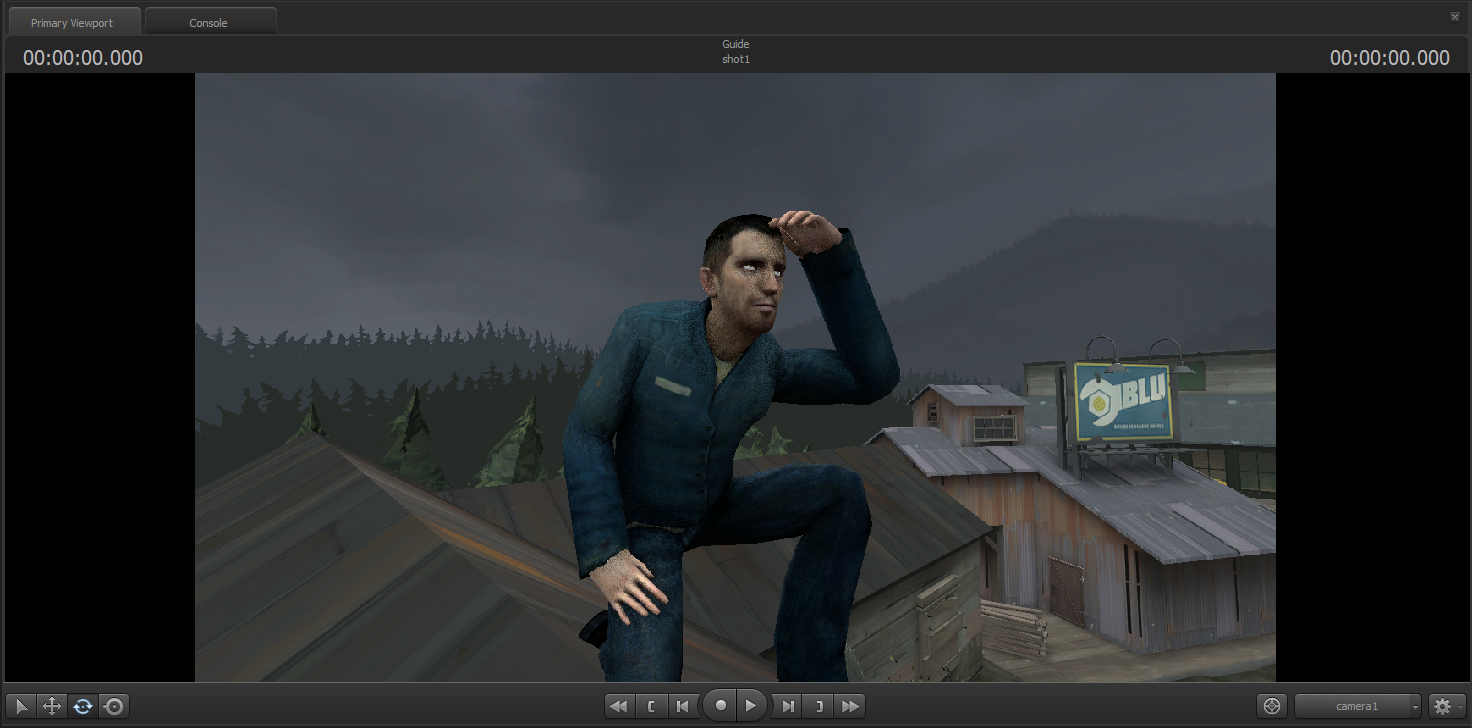
This is pretty much what you'll see once you'll start SFM, just after you'll create your save file, which is too easy to explain. After that, right click on the screen with 'NO MAP LOADED!' text, and select 'Load map...'. From there, select the map you'll use, I'll load koth_sawmill.bsp for the need of guide.
Watch out, it takes some time for SFM to load stuff, be that models or map. Just let it be for a while.
After you've loaded in, you'll be fond to look around the map. To do so, click and hold on the map view and move around with WASD, SHIFT is for more speed. Don't use spacebar, it's for the timelapse. When you'll find the sweet spot for your pose, look at the middle right corner of your screen, at the 'work camera' tab, that is here
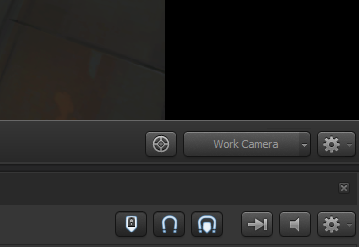
Extend it, by clicking on the triangle on right and select 'switch scene camera', then select 'new camera'.
Once that's done, you should have camera1 in camera tab, you'll use it as a main camera you'll make the shot you'll export as a poster. To make it static, so you won't move it when you won't want to and actually editable, right click on that big tab on your left, choose 'create animation set for an existing element' and choose your camera.
Posing and setting your scene
There are tons of movies on YT teaching you how to pose right in SFM, but I'll just show you basic tools and general rule of posing: 'stand up irl, get yourself in a pose you want your character to be, look all over yourself, see where each limb of yours is, and pose your character alike'.
As you might've seen already, at the bottom of your screen is the timeline with few buttons. As this guide covers only posing, I'll show you the important ones. Btw, CTRL+Z works here, you might want to keep that in mind for the time you'll screw something up.
The deafult timeline you'll have selected is 'clip editor'. You barely use it for posing, it's used mostly for adding sound effects and setting resolution, so we'll get to that the last. Now, the 'motion editor' is your friend, the one you'll spend most of your time with. It comes with few different tools from which you'll usually use only 'move' and 'rotate', 'screen' is pretty useless, at least I haven't found a use for it by my own.
Now let's get to the adding models. Remember how you added the camera to animation set editor? It's the same deal, right click there, select "add new model", and choose the one you want to use. When you're at it, add a light as well.
Save frequently, especially after adding models, particles, etc, SFM likes to crash
After you've done it, your screen should look about that
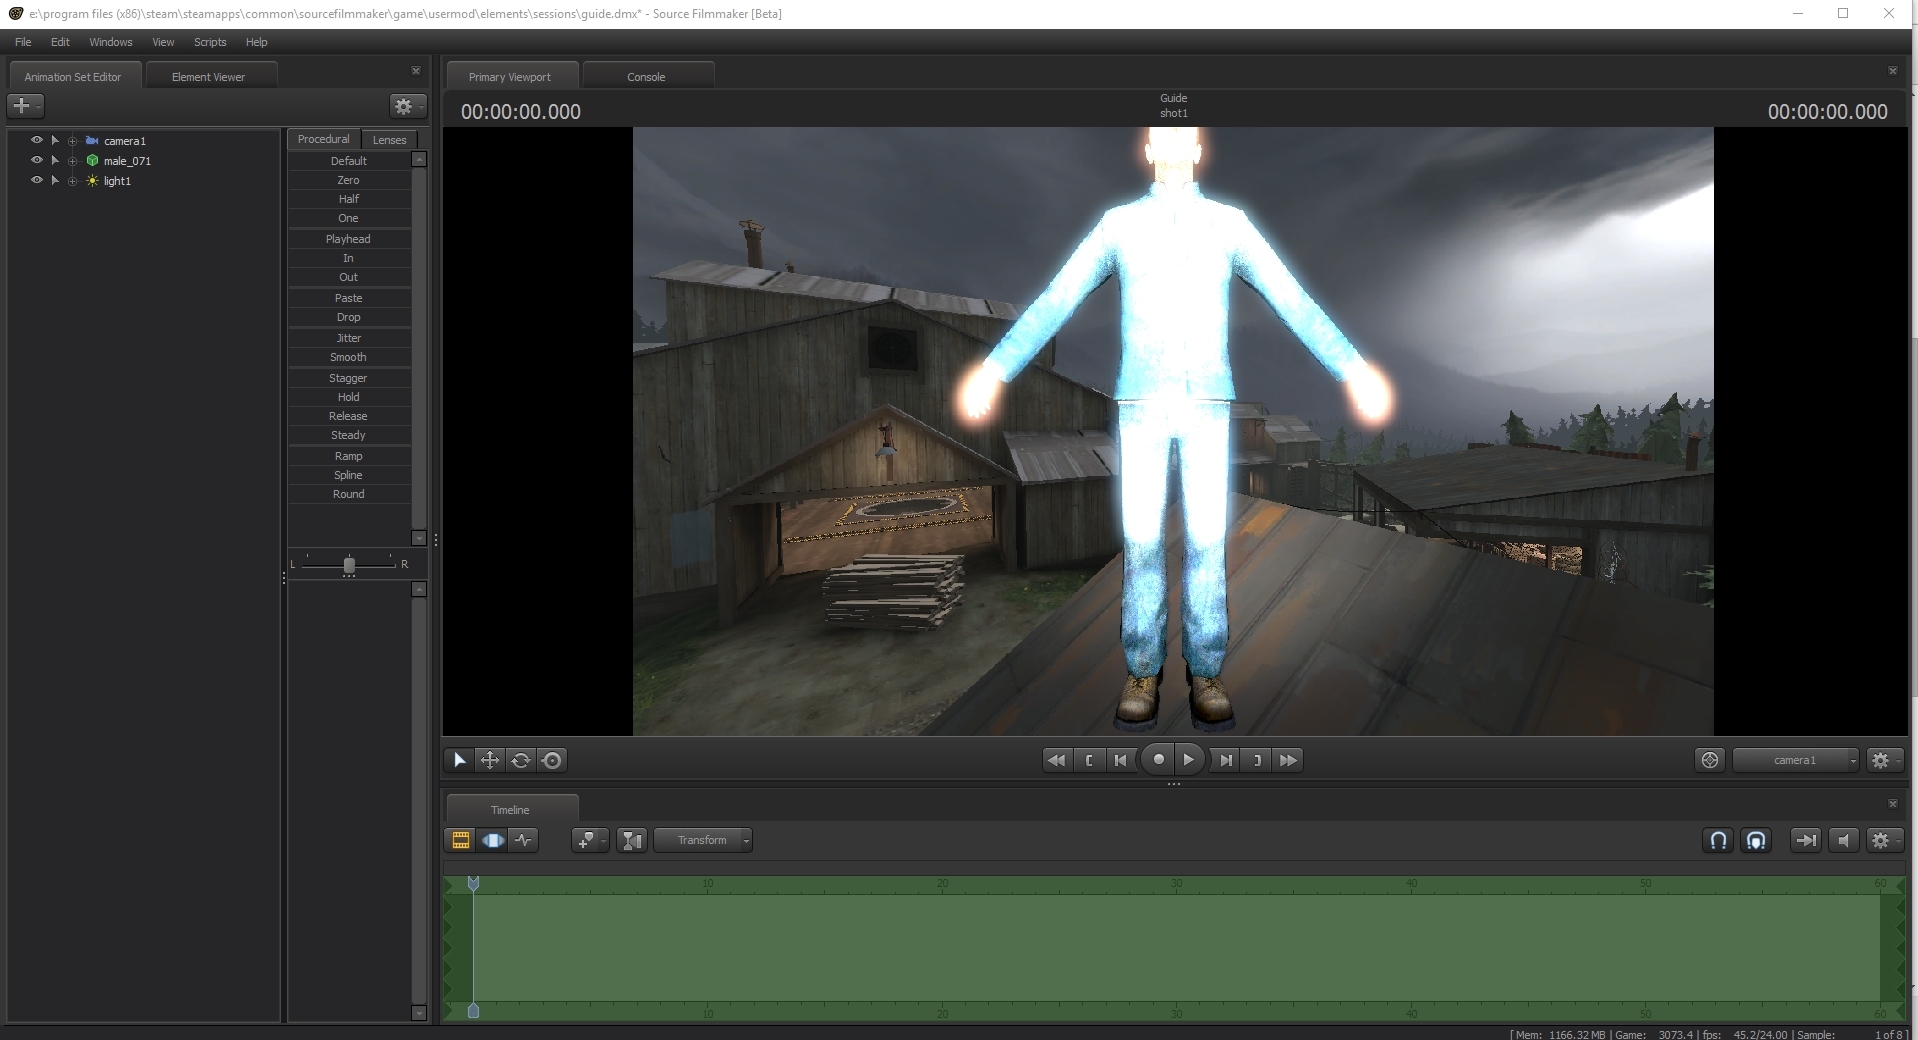
All you gotta do now, is use the move and rotate tool with pride, pose 'em up, you know the drill. You won't pose good straight away, it'll come with time, but there is a little trick you can do to make your posing easier.
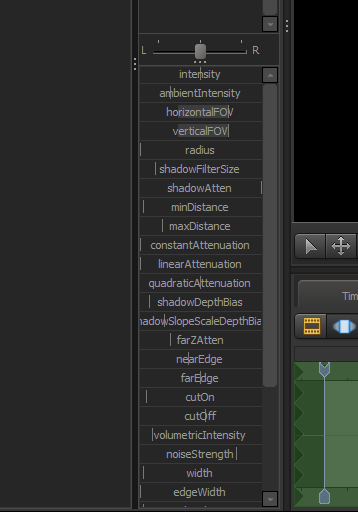
But first, let's get that light out of the way, switch to work camera by clicking on the camera tab once, and move around, placing the light far enough (first select it in the animation set editor), to the point that it'll only highlight the ragdoll, so you'll see it good. To do that, use 'move' tool while being in 'motion editor'.
After that, select the ragdoll and right click on it. Then choose 'import' and 'sequence'. From there you can make magic with standard animations, but for now, use only the highest tab in that menu, that is, the one I've selected there.
Select the one you like and click 'open'. After that, hit spacebar and stop on the moment you'll want the sequence to be on in the poster, unless it's an idle one. You can also use that blue arrow on the timeline to move around the timelapse.
Then, go back to the work camera and place your character where you want him to be. Use 'move' tool to move, 'rotate' to rotate. Pretty self explainatory.
Now you're probably thinking 'well mate, I have the ragdoll ready and all, but it doesn't fit the ground I want to put him on. What to do now?'
Now, unselect everything, hold CTRL and look at the magic. From here you can select each bone of each ragdoll. You can also select it manually, but expanding the model's properties. Just click on the 'plus' near it's name and select the part of his body you want to move/rotate. Warning, for editing of any model by selecting a limb or it's part, don't use 'move' tool, or you'll just screw up the model. Use 'rotate' instead.
Make sure to edit the sequence at least a bit, so it won't look just like a ripoff.
From now, it's pretty much just posing and doing the stuff like it. I'll skip that part as it's like I said, something you'll learn up with time.
To move your camera1 around, switch to it's view and select it, then you'll be able to move around with it like with work camera.
Reactions:
List